Canicross Belt Riding Up? 5 Fixes for a Secure Fit
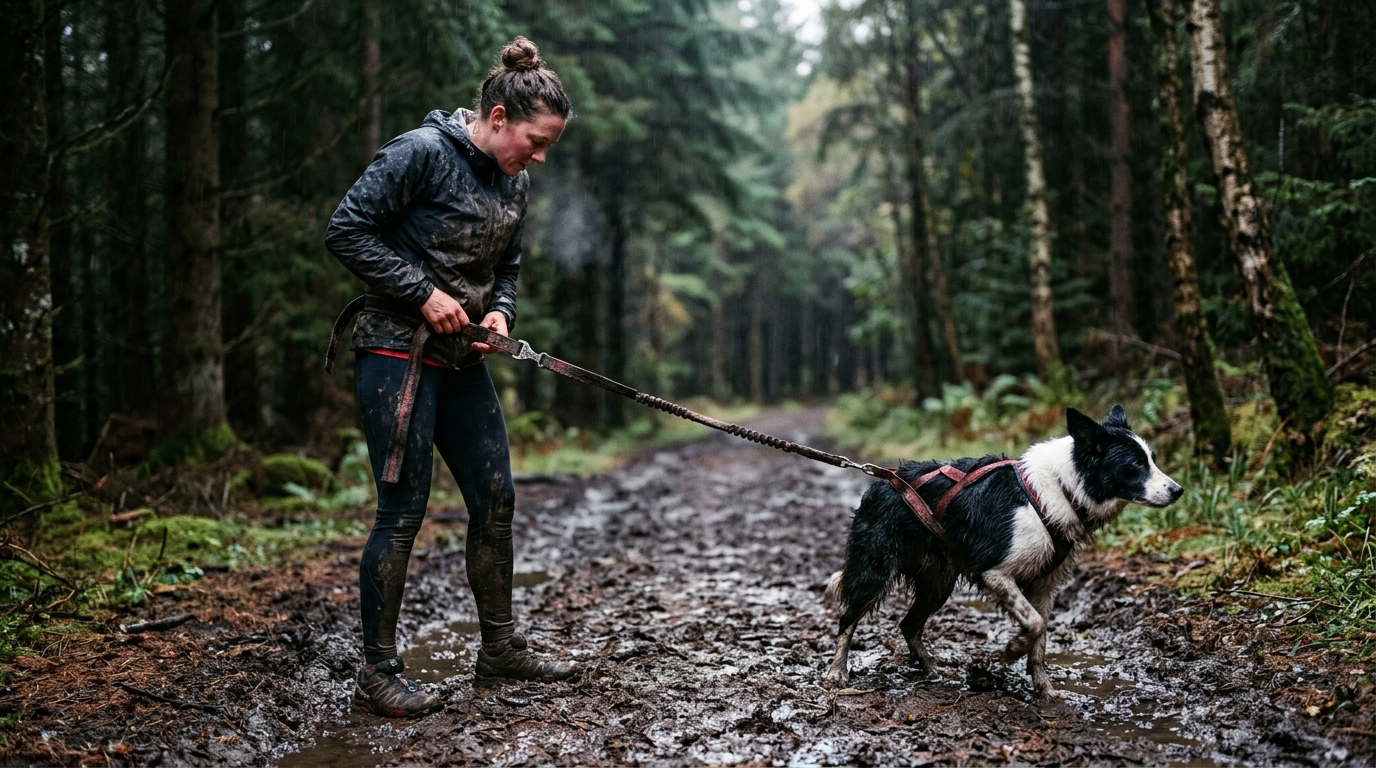
A canicross belt that rides up to your ribs mid-run is the sort of nuisance that turns a solid outing into a scramble for safety. The good news is, it rarely means your dog is misbehaving—it usually comes down to a biomechanical mismatch and a few simple setup errors you can sort out in under ten minutes.
Why does your canicross belt keep riding up?
A canicross belt rides up because forward-leaning running mechanics combine with a loose waist strap to create an upward pivot. If the belt sits at waist level rather than low on the hips, the pulling force of the dog acts as a lever, lifting the belt towards your sternum with every stride.
When you lean forward—something every runner does to keep momentum—gravity pulls the belt’s centre of mass upward along the line of your torso. Add to that where the belt sits. A waist-level placement means the pull vector aligns with your centre of gravity, making it easy for the belt to slide. A hip-level belt, by contrast, positions the pull lower, using your pelvis as a natural anchor.
The second factor is slip. Loose webbing and smooth nylon on sweaty skin have low friction, so each step lets the belt inch higher. Runners who switch from a waist-belt to a hip-belt usually see the riding-up stop almost straight away. Proper equipment fit is also flagged as a primary factor for preventing runner injury by groups like CaniCross Trailrunners.
The fix starts here: a belt that sits at waist level rather than low on the hips creates an upward pivot when the dog pulls.
Fix #1 – The Waist Strap Adjustment (The Foundation)
Start with the simplest, most effective tweak: tighten the waist strap. It should be snug enough to stop vertical movement but not so tight that it chokes you out after a kilometre of hard effort.
Use the Two-Finger Rule – slide two fingers between the strap and your skin at the side of your ribcage. That gap provides enough room for breathing while keeping the belt locked in place.
Next, double-check for twists. A twisted strap creates a weak point that can act like a hinge, allowing the belt to pivot upward when you hit a sprint. Owners reviewing gear like the DogFit Bikejor collection note that a quick visual inspection for any crossed webbing often solves the issue before the run even starts.
If you’re wearing a thick layer for a chilly morning, remember to tighten the strap after you’ve put on your jacket; the extra fabric can otherwise give the belt room to climb.
Fix #2 – The Attachment Point (The Anchor)
Where you clip the leash onto the belt makes a massive difference. Think of the leash as a lever: the lower the attachment, the shorter the lever arm pulling the belt up.
Follow the Low and Forward Rule – attach the leash to the lowest, most forward-lying D-ring on the belt. In most UK-made belts, this is a small metal loop situated just above the hip-loop on the front side.
Avoid the “High Rise”. Attaching to a ring near the waist creates a long lever arm that lifts the belt with each stride.
Finally, give the attachment point a quick wear check. Frayed webbing or a loose carabiner can slip under load, suddenly turning a well-adjusted belt into a safety risk. A quick visual inspection, the step most of us skip, can prevent that faff.
Fix #3 – The Leg Loops (The Stabiliser)
Leg loops aren’t just for looks; they act as a stabiliser that keeps the belt from rotating or sliding upward when you step over obstacles.
Use the Snug Fit Rule – each loop should hug the thigh with just enough tension to stop the belt from twisting, but not so tight that it pins circulation. A common mistake is leaving the loops loose to feel comfortable, only to discover the belt spins around the waist as soon as the pace ramps up.
Perform the Step-Through Check: lift one leg as if stepping over a curb and watch the belt. If it creeps upward, loosen the loop slightly, then retighten until the movement stops.
For winter runs, factor in extra layers. A thick pair of running tights can eat up the loop’s slack, so you’ll need to tighten a notch or two more than you would in summer.
Fix #4 – The Dog’s Harness Fit (The Connection)
Even the best-adjusted belt can be torqued upwards if the dog’s harness isn’t pulling straight forward.
Follow the Straight Line Rule – in canicross the line attaches to the back of the dog’s pulling harness, near the base of the tail, so the pull runs straight back to the front of your belt. A harness that sits crooked, or a dog running off to one side, puts a sideways twist into the belt that often turns into upward creep.
Avoid side pulling by ensuring the harness sits low on the chest and that the straps are level across both shoulders. The Royal Kennel Club highlights the importance of well-fitting harnesses to avoid altering a dog’s natural gait. Once the harness sits straight and the line runs cleanly from the dog’s back to the front of your belt, much of the belt-rising goes away, even on hills.
Check for rubbing. A harness that digs into the armpits can cause the dog to shift its stance, changing the direction of pull. Even a good harness such as the Non-stop Dogwear Freemotion can rub on longer runs if the side straps are off; a quick adjustment usually cures that. If you are struggling to get the fit right, get in touch with us or a local canicross trainer before spending more money.
Fix #5 – Pre-Run Safety Checklist
Even a perfectly tuned belt can betray you if you skip a final check. Here’s a three-point routine that takes less than a minute:
- Waist strap – confirm the two-finger gap and check there are no twists in the webbing.
- Leg loops – perform the step-through check; loops should be snug but not restrictive.
- Attachment point – ensure the leash is clipped to the lowest front ring and the hardware is intact.
Follow this with a Test Run: jog a short circuit around the block. If the belt stays where you set it, you’re good to go.
Finally, make sure the quick-release mechanism is reachable without bending over. In an emergency, you’ll want that release at arm’s length, not buried behind your hip.
Canicross Belt Fit Guide
| Fix | Key Adjustment | Common Mistake |
|---|---|---|
| Waist Strap | Snug with two-finger gap | Twisted webbing or loose fit |
| Attachment Point | Lowest front D-ring | High waist ring creates leverage |
| Leg Loops | Snug against thigh | Loops too loose cause rotation |
| Dog Harness | Back attachment centred | Side pulling causes torque |
| Safety Check | Verify all hardware | Skipping the test run |
Quick Answers
Should the belt be tight or loose?
The waist strap should be snug enough to stop the belt sliding, but never so tight it restricts breathing or hampers natural arm swing. The belt itself needs to sit low on the hips, not high up on the waist.
Why does the belt ride up when I sprint?
Sprinting increases your forward lean, which pulls on a loosely fastened waist strap or a high attachment point, acting like a lever that lifts the belt. Tightening the strap and moving the leash ring lower eliminates the upward force.
Can I fix a belt that rides up without buying a new one?
Yes. Most issues stem from strap tension, attachment height, and leg-loop fit. Adjust those three areas, and you’ll usually restore a stable, comfortable belt without spending money on a replacement.
What if the belt still rides up after adjusting?
If the belt keeps climbing, it’s likely the wrong size or design for your body type. Hip-belts generally suit taller runners, whereas waist-belts work better for shorter torsos. Consider trying a different model that actually matches your anatomy.
What to Do Next
You now have a clear, five-step plan to stop that belt from sailing up the ribcage. Tighten the waist strap, drop the leash attachment low, lock the leg loops, double-check the dog’s harness, and run through the three-point safety checklist before every outing.
A belt that stays put means you can focus on pacing, terrain, and your dog’s enjoyment—not on fiddling with gear. You can read more about how we evaluate outdoor gear, but the bottom line is that fit dictates function.
When you’re ready to lock the setup in place, grab our free Canicross Starter Checklist – it’s the perfect companion to a well-tuned canicross system, covering the kit and the fit checks in one place.
Happy running, and may your belt stay exactly where it should: low on the hips, steady as a rock.
Related Guides
For a complete overview, see our Canicross Belt Guide: Waist vs Hip and Back Support.
Where I Learned This
Note: General guidance only, verify details with a qualified professional or official source.